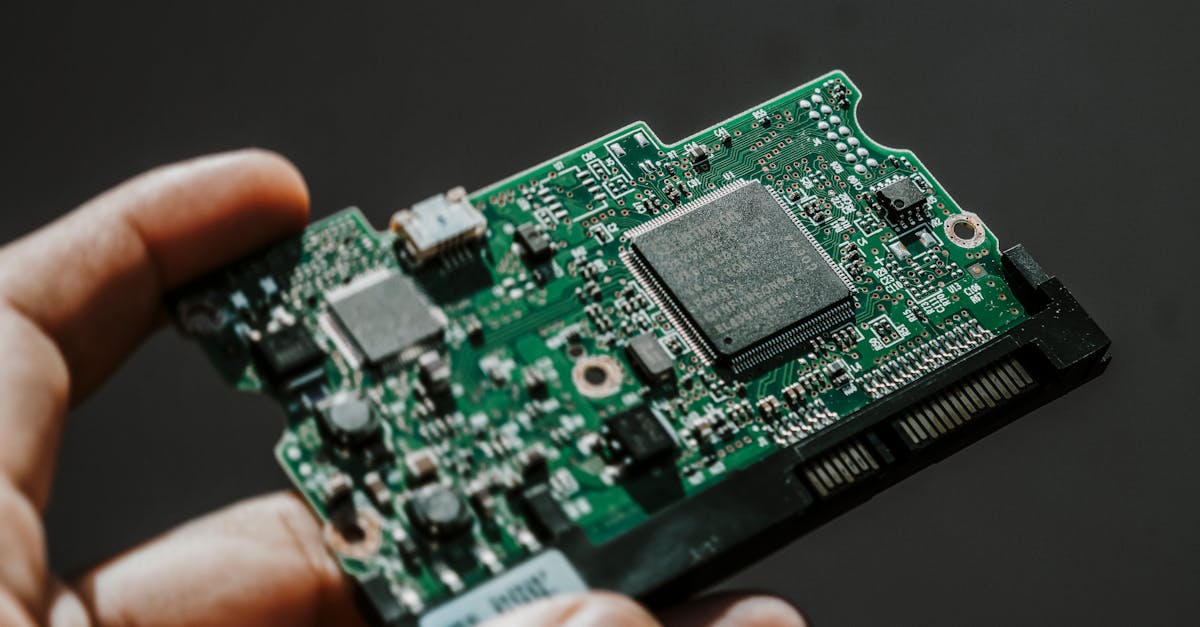
The Arduino UNO Q is not the UNO you grew up with. Underneath that familiar blue board outline sits a Qualcomm Dragonwing QRB2210 — a quad-core 64-bit Cortex-A53 running a full Debian Linux image — paired with an STM32U585 Cortex-M33 microcontroller that handles the real-time pin wiggling. Two brains, one UNO footprint.
That Linux half is wonderful right up to the moment it is not. Forget the password you set during first boot, break /etc/fstab while tinkering, kill the eMMC mid-apt upgrade, or lock yourself out of a headless board sitting on the wrong Wi-Fi network — and there is no "hold reset and re-upload the sketch" escape hatch. You need to reflash the operating system.
Good news: the board ships with a hardware-level recovery path that cannot be bricked by software. This guide walks through the whole thing.
Credit where it is due. This tutorial is based on How to Reflash the Operating System to Your Arduino UNO Q by Nate Larson, published on DigiKey's Maker.io (14 October 2025). We have expanded it with macOS and Linux commands, EDL-mode background, and troubleshooting notes from the Arduino Forum. Go read the original — it is excellent.
When You Actually Need This
Reflashing wipes the eMMC completely. Do it only when the softer options are gone:
| Symptom | Try this first | Reflash needed? |
|---|---|---|
| Sketch misbehaving on the MCU | Re-upload from App Lab / Arduino IDE | No |
| A single package broken | sudo apt install --reinstall <pkg> |
No |
| Wrong Wi-Fi credentials, board reachable | Fix over USB serial console | No |
| Forgot the Linux password | — | Yes |
| Board boots to a kernel panic / initramfs prompt | — | Yes |
| eMMC corrupted after a power cut mid-write | — | Yes |
| Headless board on an unreachable network, no console | — | Yes |
| Selling or handing over the board | — | Yes (clean factory state) |
Back up first if you can still boot. Copy your projects, configs and any App Lab work off the board with scp or a USB drive. After this procedure they are gone.
What You Need
Hardware
- Arduino UNO Q (2 GB/16 GB or 4 GB/32 GB variant)
- A data-capable USB-C cable — a charge-only cable is the single most common cause of failure here
- One jumper shunt, or a short piece of jumper wire, for the
JCTLheader - A host PC: Windows, macOS or Linux
Software
arduino-flasher-cli— from the Arduino software page (flasher tool section) or GitHub releases- Roughly 5–8 GB free disk space for the downloaded and extracted Debian image
- A decent internet connection — the image is a multi-gigabyte download
You do not need an SD card, a USB-to-serial adapter, or a JTAG probe. The QRB2210's boot ROM does all the work.
What EDL Mode Actually Is
Qualcomm application processors have a mask-ROM recovery mode baked into silicon, called EDL — Emergency Download Mode. When the SoC is told to enter EDL at power-on, it ignores the bootloader on the eMMC entirely and instead enumerates over USB as a Qualcomm device, waiting to be handed a signed loader (a "firehose" programmer) from the host. The host then streams partition images straight to the eMMC.
Two consequences matter to you:
- Software cannot brick the board. However badly you mangle the Linux install, the boot ROM is read-only and always available.
- The mode is selected in hardware. On the UNO Q, that is the
JCTLheader — shortingUSB_BOOTtoGNDat power-up forces EDL instead of a normal boot.
That is the entire trick. The jumper is the recovery button.
Step 1 — Install the Flasher Tool
Download the archive that matches your host OS and extract it somewhere convenient.
Windows — extract arduino-flasher-cli.exe to a simple path such as C:\Arduino\. Avoid folders with spaces or OneDrive sync; both cause odd path failures mid-flash.
macOS / Linux — extract, then make it executable and put it on your PATH:
tar -xzf arduino-flasher-cli_*.tar.gz
chmod +x arduino-flasher-cli
sudo mv arduino-flasher-cli /usr/local/bin/
arduino-flasher-cli version
On macOS the binary is unsigned, so Gatekeeper will block the first run. Clear the quarantine attribute:
xattr -d com.apple.quarantine /usr/local/bin/arduino-flasher-cli
Linux users: you need raw USB access to the device. Either run the tool with sudo, or install a udev rule so your user can talk to the Qualcomm EDL endpoint:
# /etc/udev/rules.d/99-qualcomm-edl.rules
SUBSYSTEM=="usb", ATTR{idVendor}=="05c6", ATTR{idProduct}=="9008", MODE="0666"
Then reload:
sudo udevadm control --reload-rules && sudo udevadm trigger
Step 2 — Start the Flasher Before Connecting the Board
This is the step people get wrong, and it is the reason the "Waiting for EDL device" hang is the most-reported issue on the forum. The tool must be downloading and unpacking the image before the board is plugged in, because the EDL window is short-lived.
With the UNO Q still disconnected, run:
# Windows PowerShell
.\arduino-flasher-cli.exe flash latest

# macOS / Linux
sudo arduino-flasher-cli flash latest
The tool asks whether to download the latest Debian image. Type y and press Enter.
Now wait. It downloads several gigabytes, then extracts them. Do not touch the board yet. Keep waiting until the terminal prints:
Waiting for EDL device...
That line is your cue.
If you want a specific release instead of the newest one, list what is available and pick a version:
arduino-flasher-cli list
arduino-flasher-cli flash <version>
Step 3 — Fit the JCTL Jumper
With the board still unpowered and unplugged, find the JCTL header. Short the two pins furthest from the USB-C connector — these are USB_BOOT and GND.
A 2.54 mm shunt is ideal. A jumper wire works fine. A pair of tweezers held steady works in an emergency, but you will be holding them for a couple of minutes, so do yourself a favour and use a shunt.
The jumper must already be in place when power arrives. Fitting it after plugging in does nothing — the boot ROM only checks that pin during power-on.
Step 4 — Connect and Flash
Plug the USB-C cable into the UNO Q and then into your PC. The board powers up, sees USB_BOOT pulled low, and enumerates in EDL mode. The flasher's "Waiting for EDL device" should immediately become a device-found message.
It then asks for confirmation to write the image. Type y.
This erases everything on the board. All partitions, your Linux user, installed packages, App Lab projects, saved Wi-Fi credentials — all of it. There is no undo and no partial reflash.
On Windows, the first run may trigger driver installation for the Qualcomm EDL interface. Let it finish; do not unplug the board while Windows is installing drivers.
Flashing takes several minutes. The tool prints per-partition progress. While it runs:
- Do not unplug the cable. A yank mid-write leaves the eMMC in a partially-written state and you get to start over.
- Do not use a USB hub. Plug directly into the host. Hubs cause dropouts on long bulk transfers.
- Do not let the laptop sleep. Disable sleep/suspend before you start.
Success looks like a message reporting that partition 0 is bootable.
Step 5 — Remove the Jumper and Reboot
Disconnect the USB cable. Remove the JCTL jumper — if you leave it fitted, the board will drop straight back into EDL mode instead of booting Linux, and it will look dead.
Reconnect power. First boot takes noticeably longer than usual while the filesystem is resized and first-boot services run. Then the board comes up in factory state and walks you through:
- Setting a new Linux password
- Wi-Fi configuration
- Choosing a board name (the hostname used for mDNS discovery)
Pick a password you will actually remember this time — you now know exactly what forgetting it costs.
Troubleshooting
"Waiting for EDL device" never resolves. The overwhelmingly common cause. Work through these in order:
- Cable is charge-only. Swap for a known-good data cable — this fixes most cases.
- Jumper is on the wrong pins. It is the two pins furthest from USB-C.
- Jumper was fitted after power. Unplug, refit, plug back in.
- Connected through a hub or a dock. Go direct to the host port.
- Linux without udev rules or
sudo. The tool cannot open the USB device.
Windows does not detect the device at all.
Open Device Manager while the board is plugged in with the jumper fitted. You should see a QUSB_BULK or Qualcomm HS-USB device (VID 05C6, PID 9008). If it appears as an unknown device, let Windows Update install the driver, or install the Qualcomm USB driver manually.
Flashing aborts partway through. Not fatal. EDL mode lives in the boot ROM, so it is still reachable no matter how mangled the eMMC is. Power-cycle with the jumper fitted and run the flash again.
Board boots but Wi-Fi will not connect. Not an OS problem. The QRB2210 supports dual-band Wi-Fi 5 — check you are not pointing it at a 5 GHz-only SSID with the wrong country/regulatory domain set, and re-run the network setup.
The MCU side seems dead after reflashing. Reflashing replaces the Linux side. The STM32U585 keeps whatever sketch it had. Re-upload from App Lab, and check that the Linux-to-MCU bridge service is running before you conclude the MCU is at fault.
Good Habits That Save You From Doing This Again
- Enable SSH on first boot and record the board name. A reachable console turns most "bricks" back into ordinary fixable problems.
- Keep configuration in a git repo, not only on the eMMC. Reprovisioning after a reflash should be one
git cloneand a script. - Never pull power during
aptoperations. Interrupted writes to the eMMC are the number-one cause of corrupted installs. If your bench supply is flaky, sort that out first. - Feed it properly. The QRB2210 draws real current under load, and browning out mid-write is exactly how a healthy board becomes a reflash job. Use a supply with headroom — see our guide to power supply basics.
- Keep a shunt taped to the board. When you need it, you will not want to be hunting through a parts bin.
Wrapping Up
The reflash procedure is short once you know the ordering rule: start the flasher first, fit the jumper second, apply power last. Get that sequence right and everything else follows. Get it wrong and you sit staring at "Waiting for EDL device" wondering what broke.
And it is genuinely unbrickable in software. The mask-ROM EDL path is always there. However thoroughly you destroy the Debian install while experimenting, a jumper and five minutes puts it back.
Browse our full range of development boards and accessories to kit out your bench, or read on:
- Getting Started with Arduino: The Ultimate Beginner's Guide
- ESP32 vs Arduino UNO: Which Board Should You Choose?
- Debugging Electronics Systematically
- Power Supply Basics
Original tutorial: How to Reflash the Operating System to Your Arduino UNO Q by Nate Larson, DigiKey Maker.io. Additional references: Arduino UNO Q documentation, arduino-flasher-cli releases.