Soldering for Beginners: Tools, Techniques, and Tips
If you have ever wanted to build your own circuits, repair a broken gadget, or solder pin headers onto an ESP32 dev board, soldering is the one skill you absolutely need. It is the foundation of hands-on electronics. And the good news is that it is far easier to learn than most people think.
This guide walks you through everything: picking the right tools, setting up a safe workspace, making your first perfect solder joint, fixing mistakes, and building confidence through practice. By the end, you will have the knowledge to tackle real-world soldering tasks with competence.
Why Every Electronics Enthusiast Should Learn to Solder
Breadboards are great for prototyping, but they are unreliable for anything permanent. Loose wires pop out, connections corrode, and vibration kills circuits. Soldering creates permanent, low-resistance electrical connections that last decades.
Here is what soldering unlocks for you:
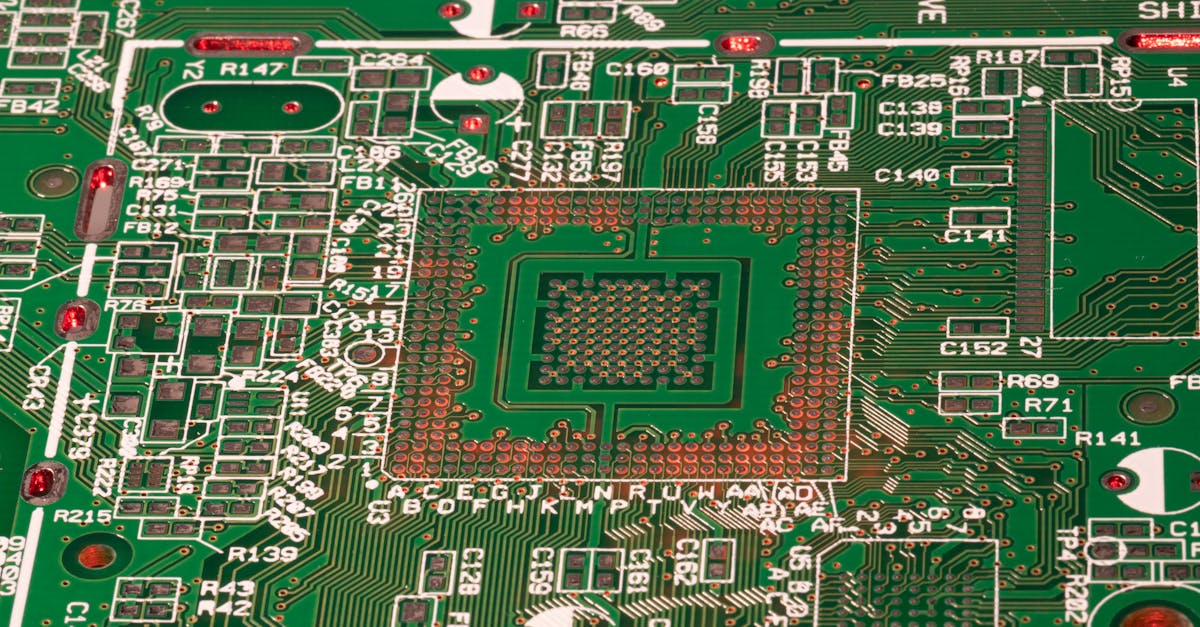
- Building permanent circuits on perfboards and PCBs
- Assembling kits like amplifiers, power supplies, and clocks
- Attaching headers to microcontroller boards (ESP32, Arduino, Raspberry Pi Pico)
- Repairing electronics instead of throwing them away
- Connecting wires to motors, speakers, switches, and connectors
- Surface mount work for compact, professional-grade projects
Whether you are a student, hobbyist, or aspiring embedded engineer, soldering is a skill that pays for itself many times over.
Choosing the Right Soldering Iron
Your soldering iron is the most important tool you will buy. Choose wisely and it will serve you for years.
Temperature-Controlled Station vs Basic Iron
A basic soldering iron plugs directly into the wall and heats up to a fixed temperature. It is cheap (around 150-300 rupees) but has no temperature control. The tip overheats, oxidizes quickly, and makes consistent joints difficult.
A temperature-controlled soldering station lets you set and maintain a precise temperature, typically between 200 and 450 degrees Celsius. The station regulates power to keep the tip at the set temperature, which means faster heat recovery after each joint and much longer tip life.
Our recommendation: Always go for a temperature-controlled station. Even a budget station like the Hakko FX888D-equivalent clones in the 1,500-3,000 rupee range will dramatically improve your results compared to a basic iron.
Wattage
For general electronics work, 40 to 60 watts is the sweet spot. Lower wattage irons struggle to heat larger pads and ground planes. Higher wattage does not mean hotter; it means the iron recovers temperature faster after making a joint.
- 25-30W: Fine for very delicate work, but slow on larger joints
- 40-60W: Ideal for through-hole components, headers, and wire work
- 60-80W: Good if you frequently solder to thick wires or large pads
Tip Types
| Tip Shape | Best For | Notes |
|---|---|---|
| Chisel (screwdriver) | General through-hole work, drag soldering | Most versatile. Start here. |
| Conical (pointed) | Fine-pitch SMD, tight spaces | Less thermal contact area |
| Knife (angled blade) | Drag soldering SMD ICs | Great for experienced users |
| Bevel (angled chisel) | Wire soldering, larger pads | Good heat transfer |
Start with a medium chisel tip (2-3mm). It offers the best balance of precision and heat transfer for beginners.
Essential Tools and Supplies
Here is everything you need to get started, along with approximate prices in Indian rupees:
| Tool | Price Range (approx.) | Why You Need It |
|---|---|---|
| Temperature-controlled soldering station (40-60W) | 1,500 - 5,000 | Your primary tool |
| Solder wire (0.8mm, rosin core, 60/40) | 150 - 400 | The filler metal for joints |
| Flux pen or paste (rosin-based) | 100 - 300 | Improves wetting and flow |
| Solder wick (desoldering braid) | 80 - 200 | Removes excess solder |
| Solder sucker (desoldering pump) | 100 - 300 | Removes solder from through-holes |
| Helping hands / PCB holder | 200 - 800 | Holds your board steady |
| Brass tip cleaner | 150 - 350 | Cleans the tip without thermal shock |
| Wet sponge (comes with most stations) | Included | Quick tip wiping |
| Heat-resistant silicone mat | 300 - 800 | Protects your desk |
| Fume extractor or small fan | 500 - 2,500 | Keeps flux fumes away from your face |
| Flush cutters | 150 - 400 | Trimming component leads |
| Tweezers (ESD-safe) | 100 - 300 | Handling small components |
Total starter budget: You can get a solid beginner setup for around 3,000 to 5,000 rupees.
Brass Sponge vs Wet Sponge
Both clean the tip, but they work differently.
A wet sponge wipes off oxidation and excess solder effectively, but the sudden temperature drop causes thermal shock that slowly degrades the tip plating over time.
A brass wire cleaner (the curly brass shavings in a metal container) cleans without dropping the tip temperature. It is gentler on tips and more convenient since you do not need to keep it wet.
Use both: brass cleaner for routine cleaning during work, wet sponge for a thorough wipe when the tip is heavily contaminated.
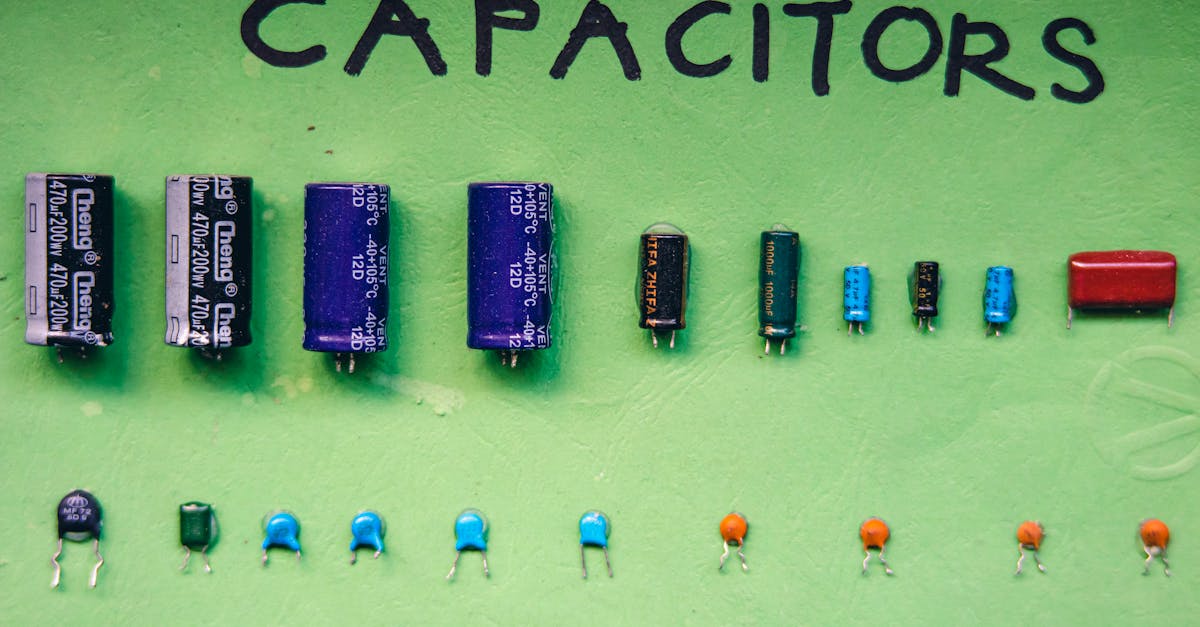
Understanding Solder Types
Not all solder is the same. The type you choose affects joint quality, melting temperature, and ease of use.
Leaded Solder
| Alloy | Melting Point | Properties |
|---|---|---|
| 60/40 (60% tin, 40% lead) | 183-190 degrees C | Most common. Small pasty range. Easy to work with. |
| 63/37 (eutectic) | 183 degrees C (exact) | Melts and solidifies at a single temperature. No pasty phase. Produces the shiniest, most reliable joints. |
63/37 eutectic solder is the best choice for beginners. Because it transitions instantly between solid and liquid with no pasty range, it is very forgiving. You get fewer cold joints and cleaner results.
Lead-Free Solder
| Alloy | Melting Point | Properties |
|---|---|---|
| SAC305 (96.5% Sn, 3% Ag, 0.5% Cu) | 217-220 degrees C | Industry standard lead-free. Requires higher temperatures. Joints appear slightly dull even when good. |
Lead-free solder is mandatory in commercial manufacturing (RoHS compliance), but for hobby work, leaded 63/37 is easier and more forgiving. If you use leaded solder, always wash your hands after soldering and never eat or drink at your workstation.
Wire Diameter
- 0.8mm: Best all-around diameter for through-hole work
- 0.5mm: Better for fine-pitch SMD work
- 1.0mm: Faster for larger joints and wire connections
Rosin Core
Always buy rosin-core solder. The flux is built into the center of the wire, so it flows out automatically when you melt the solder. This saves you from applying flux separately for most through-hole joints.
Flux: The Secret to Good Joints
Flux is a chemical cleaning agent that removes oxide layers from metal surfaces, allowing solder to wet and bond properly. Without flux, solder beads up and refuses to stick.
Types of Flux
- Rosin flux: The classic. Mildly acidic when heated, inert when cool. Safe for electronics. Leaves a brownish residue that is non-corrosive.
- No-clean flux: Formulated to leave minimal, non-corrosive residue. No cleaning needed after soldering. Great for most hobby work.
- Water-soluble flux: More aggressive. Must be cleaned off after soldering or it will corrode your board. Avoid unless you have an ultrasonic cleaner.
When to Add Extra Flux
Even with rosin-core solder, add extra flux when:
- Reworking or reflowing an existing joint
- Doing any SMD work
- Soldering to oxidized or old components
- Desoldering with solder wick (flux makes the wick work much better)
- The solder is not flowing smoothly
A flux pen is the most convenient way to apply flux. Keep one at your station at all times.
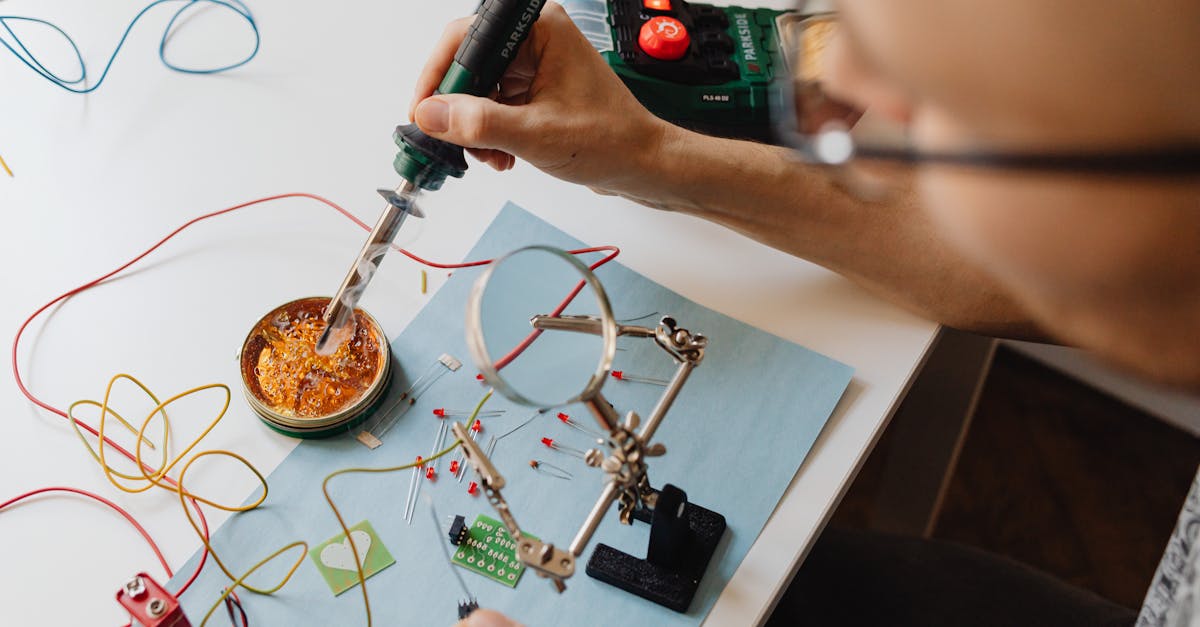
Setting Up Your Workspace
A proper workspace makes soldering safer and more enjoyable.
Ventilation
Flux fumes are irritating to the eyes, nose, and lungs. Never solder without ventilation.
- Best: A dedicated fume extractor with an activated carbon filter, positioned 10-15 cm from your work
- Good: A small desk fan blowing fumes away from your face toward an open window
- Minimum: Work near an open window with some airflow
Do not rely on "I'll just hold my breath" or "it doesn't smell that bad." Chronic exposure to flux fumes can cause occupational asthma.
Workstation Essentials
- Heat-resistant silicone mat: Protects your desk from burns and solder splashes. Also provides a non-slip surface.
- Good lighting: A desk lamp or ring light positioned to eliminate shadows on your work area. You need to clearly see your solder joints.
- PCB holder or helping hands: Frees both hands for the iron and solder wire. Essential for consistent results.
- Organized layout: Iron on your dominant side, solder and tools within easy reach, tip cleaner right next to the iron stand.
Through-Hole Soldering: Step by Step
This is the fundamental technique. Master this and everything else builds on it.
Before You Start
Set your iron to 320-350 degrees Celsius for leaded solder, or 350-380 degrees for lead-free. Let it heat up fully (most stations take 30-60 seconds).
The Five-Step Process
-
Tin the tip. Touch a small amount of solder to the hot tip. It should melt and coat the tip with a thin, shiny layer. This layer of solder improves heat transfer from the tip to your work. Wipe off any excess on the brass cleaner.
-
Place the tip against both the pad and the component lead simultaneously. The flat face of a chisel tip should touch the pad while the edge contacts the lead. This heats both surfaces at the same time. Hold for about 1-2 seconds.
-
Feed solder to the joint, not the iron. Touch the solder wire to the point where the component lead meets the pad, on the opposite side from the iron tip. The solder should melt and flow around the joint, pulled by capillary action. Feed enough to form a small concave fillet around the lead.
-
Remove the solder wire first, then remove the iron. This sequence prevents creating a thin strand of solder trailing from the joint.
-
Inspect the joint. A good joint looks like a shiny, concave cone (volcano shape) that smoothly wets both the pad and the lead. The entire process for one joint should take 2-4 seconds.
What a Good Joint Looks Like
- Shiny and smooth (with leaded solder; lead-free joints are naturally slightly matte)
- Concave shape that tapers from the pad to the lead
- Solder wets both surfaces with no gaps between the solder and the metal
- No excess blobs or rough texture
Common Solder Joint Problems
Learning to identify bad joints is just as important as making good ones.
| Problem | Appearance | Cause | Fix |
|---|---|---|---|
| Cold joint | Dull, grainy, rough surface | Moved during cooling, or insufficient heat | Reheat with flux and fresh solder |
| Too much solder | Large rounded blob hiding the lead | Feeding too much solder | Remove excess with solder wick |
| Solder bridge | Solder connects two adjacent pads | Too much solder or pads too close | Use solder wick or drag with a clean tip |
| Insufficient solder | Thin ring that does not fully cover the pad | Not enough solder applied | Add flux and more solder |
| Lifted pad | Copper pad peeled off the board | Too much heat or mechanical force | Cannot be undone. Jump wire to next trace. |
| Disturbed joint | Frosted, cracked appearance | Board or component moved while solder was solidifying | Reheat and hold steady until solid |
The number one beginner mistake is not applying enough heat. If you are timid with the iron, the solder will not flow properly, and you will get cold joints. Be confident: touch the iron firmly to the joint, heat for 1-2 seconds, then feed solder.
Desoldering Techniques
Mistakes happen. Knowing how to desolder cleanly is an essential skill.
Solder Wick (Desoldering Braid)
Solder wick is a flat braid of fine copper wires impregnated with flux. It absorbs molten solder through capillary action.
- Apply a small amount of flux to the wick (even if it is pre-fluxed)
- Place the wick on top of the joint you want to remove
- Press your hot iron on top of the wick
- The wick heats up, the solder beneath melts, and the wick absorbs it
- Lift the wick and iron together. Do not drag the wick while it is stuck to the pad.
Best for: Removing solder bridges, cleaning up SMD pads, removing excess solder from any joint.
Solder Sucker (Desoldering Pump)
A spring-loaded vacuum pump that physically sucks up molten solder.
- Prime the sucker by pushing the plunger down
- Heat the solder joint with your iron until the solder is fully molten
- Position the sucker nozzle right next to the molten joint
- Press the release button. The vacuum sucks up the liquid solder.
- Repeat if needed. Add fresh solder and re-melt for stubborn joints.
Best for: Clearing through-holes when removing components, desoldering DIP IC pins.
When to Use Which
- Solder wick: SMD work, cleaning pads, removing bridges, precision cleanup
- Solder sucker: Through-hole component removal, clearing plated through-holes
Surface Mount Soldering Basics
Once you are comfortable with through-hole, surface mount (SMD) work opens up a world of compact, modern components.
Drag Soldering
This technique works brilliantly for multi-pin SMD ICs (SOIC, TSSOP, QFP packages).
- Apply flux generously across all the pads
- Tack one corner pin to align the IC
- Tack the diagonal opposite corner pin
- Apply a small amount of solder to your chisel or knife tip
- Drag the tip slowly across the row of pins. Surface tension and flux keep the solder only on the pins and pads.
- Clean up any bridges with solder wick
Hot Air Station
For components without accessible leads (QFN, BGA) or for rework, a hot air rework station is invaluable. Budget hot air stations start at around 2,000-4,000 rupees.
- Apply solder paste to the pads
- Place the component
- Heat evenly with hot air at 300-350 degrees until the solder melts and the component self-aligns
- Let it cool without moving
Soldering Headers onto ESP32 and Arduino Boards
This is the single most common soldering task for beginners, and it is a great first project.
What You Need
- Your dev board (ESP32 DevKit, Arduino Nano, Raspberry Pi Pico, etc.)
- Male pin headers (usually included with the board)
- A breadboard to hold the headers straight
The Process
- Insert the pin headers into a breadboard, long pins down. The breadboard keeps them perfectly aligned and vertical.
- Place the dev board on top of the headers, component side up. The header pins should poke through the board's plated through-holes.
- Solder one pin on each side first. Check alignment. If the board is crooked, reheat that one pin and adjust.
- Once alignment is confirmed, solder the remaining pins. Work your way down each side, spending 2-3 seconds per pin.
- Inspect all joints, then gently pull the board out of the breadboard.
Tip: Do not leave the board on the breadboard too long while soldering. Excessive heat can deform the breadboard plastic. Solder efficiently, a few seconds per pin.
Soldering Wires to Motors and Connectors
Wire soldering requires slightly different technique because wires are round and like to move.
Wire to Terminal
- Strip about 5mm of insulation from the wire end
- Tin the wire: Hold the iron against the exposed strands and feed solder until the strands are coated with a thin layer of solder. The wire should remain flexible, not stiff with excess solder.
- Tin the terminal pad or tab on the motor or connector
- Hold the tinned wire against the tinned terminal using helping hands or tweezers
- Touch the iron to the joint. Both pre-tinned surfaces will melt together almost instantly.
- Apply heat shrink tubing over the joint for insulation and strain relief
Wire to Wire
- Tin both wire ends
- Hold them together (overlap or hook them)
- Heat with the iron until both tinned surfaces melt together
- Slide heat shrink tubing over the joint and shrink it
Safety
Soldering involves hot metal, molten alloys, and chemical fumes. Respect the hazards and you will be fine.
Burn Prevention
- Always return the iron to its stand when not actively soldering. Never set it down on the desk.
- The tip is 300+ degrees. Treat it like an open flame.
- Solder splashes happen. Wear closed-toe shoes. Safety glasses are recommended, especially when cutting leads (they fly).
- Hot solder drips down. Never solder above your lap or bare skin.
- Let joints cool before touching. Even a few seconds makes a big difference.
Lead Safety
If you use leaded solder (which we recommend for beginners due to ease of use):
- Wash your hands thoroughly after every soldering session. This is the single most important rule.
- Never eat, drink, or touch your face while soldering.
- Work in a ventilated area. Lead does not vaporize at soldering temperatures, but flux fumes can carry tiny lead particles.
- Keep leaded solder away from children.
- Wipe down your work surface periodically with a damp cloth.
Fume Safety
- Always use ventilation. Flux fumes cause respiratory irritation and sensitization over time.
- A fume extractor with a carbon filter is the gold standard.
- At minimum, use a fan to blow fumes away from your breathing zone.
- If you feel dizzy, get headaches, or your eyes sting, your ventilation is inadequate. Stop and improve airflow before continuing.
Iron Maintenance
A well-maintained soldering iron tip lasts months. A neglected tip dies in weeks.
Tip Cleaning
- During use: Wipe on the brass cleaner every few joints. Use the wet sponge for heavier cleaning.
- Never scrape the tip on hard surfaces. This damages the iron plating.
- Never use sandpaper or a file on the tip. Once the plating is damaged, the copper core oxidizes rapidly and the tip is ruined.
Re-tinning
- Always tin the tip before putting the iron away. Apply a generous blob of solder to the tip, then turn off the iron. The solder coating prevents oxidation during storage.
- When the tip turns dark and refuses to accept solder, use a tip re-tinning compound (a block of sal ammoniac with solder). Rub the hot tip in the compound until it is shiny again, then tin with fresh solder.
When to Replace Tips
Replace the tip when:
- It has visible pitting or craters in the plating
- It will not tin properly even after using re-tinning compound
- The shape is worn down and no longer makes good contact with pads
Tips are consumable items. Buy a few spares when you purchase your station.
Practice Projects for Beginners
Reading about soldering only gets you so far. You need to put iron to pad and build muscle memory.
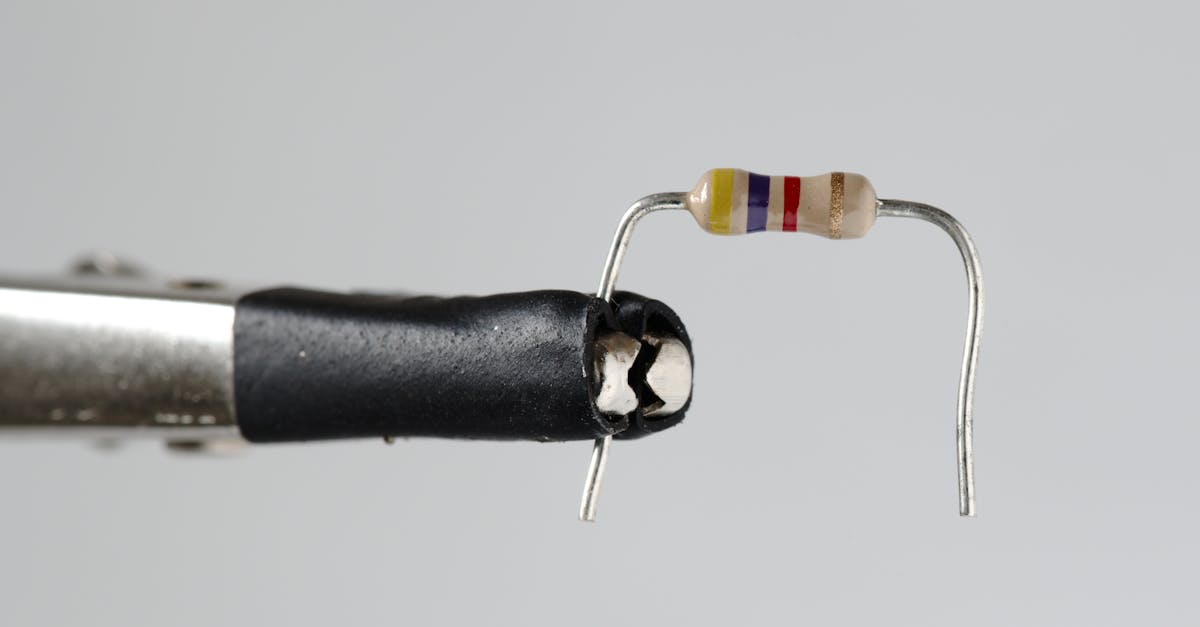
Project 1: LED Circuit on Perfboard
Build a simple LED circuit on a perfboard (also called stripboard or dot board).
- Components: 1 LED, 1 resistor (220 ohm for a 5V supply), a 2-pin screw terminal for power
- Solder each component through the holes
- Bridge connections on the copper side with short wire jumps or solder traces
- Connect power and watch it light up
This project teaches you through-hole soldering, lead trimming, and basic circuit layout. Total component cost: under 20 rupees.
Project 2: Solder Pin Headers
Take any development board that came without pre-soldered headers and solder a full set of male headers. This is practical (you need the headers to use the board) and teaches you to make many consistent joints in a row.
Project 3: Solder a Kit
Once you are comfortable with individual joints, try a soldering kit. Many electronics kits are available in the 200-1,000 rupee range: LED chasers, FM radios, audio amplifiers, digital clocks. Kits teach you to follow a schematic, identify components, and solder a complete functional circuit.
Project 4: Wire Connections
Practice soldering wires to a DC motor, a toggle switch, and a battery holder. This teaches tinning, strain relief, and working with round conductors rather than flat PCB pads.
Key Takeaways
- Invest in a temperature-controlled station. It pays for itself in better joints and longer tip life.
- Use 63/37 eutectic rosin-core solder for the easiest learning experience.
- Heat both surfaces, feed solder to the joint. This is the core technique.
- Flux is your best friend. When in doubt, add more flux.
- Ventilation is not optional. Protect your lungs.
- Wash your hands after every session with leaded solder.
- Practice on cheap components and perfboard before soldering your expensive dev boards.
- A good joint takes 2-4 seconds. If you are holding the iron on a joint for more than 5 seconds, something is wrong. Add flux, check your temperature, and try again.
Soldering is one of those skills where an hour of practice teaches you more than a week of reading. Grab your iron, fire it up, and start making joints. Your first few will be ugly. Your tenth will be decent. By your fiftieth, you will wonder what all the fuss was about.